Shipping a Blog with Real DevOps (Part 1): From Idea to CI/CD Reality
🛠️ Time for an Engineer’s Side Quest!
Welcome to the behind-the-scenes lab—where I share the practical, messy, and sometimes hilarious realities of building this project.
In a previous post, A Sabbatical With Intent, I talked about taking a deliberate pause to rebuild my technical foundations. Well, rebuilding started sooner than I expected—and in a way I didn’t anticipate. What began as “I should probably have a blog” turned into a crash course in DevOps, complete with all the head-scratching moments that come with actually shipping something to production.
Here’s the thing: I’ve deployed mobile apps and backend features before. I’ve pushed code through pipelines. But standing up your own infrastructure—setting up a VPS, configuring reverse proxies, managing SSL certificates, building CI/CD from scratch—that’s a different beast entirely. And honestly? It’s the kind of learning by doing that no tutorial can fully prepare for you.
Starting Simple (Or So I Thought)
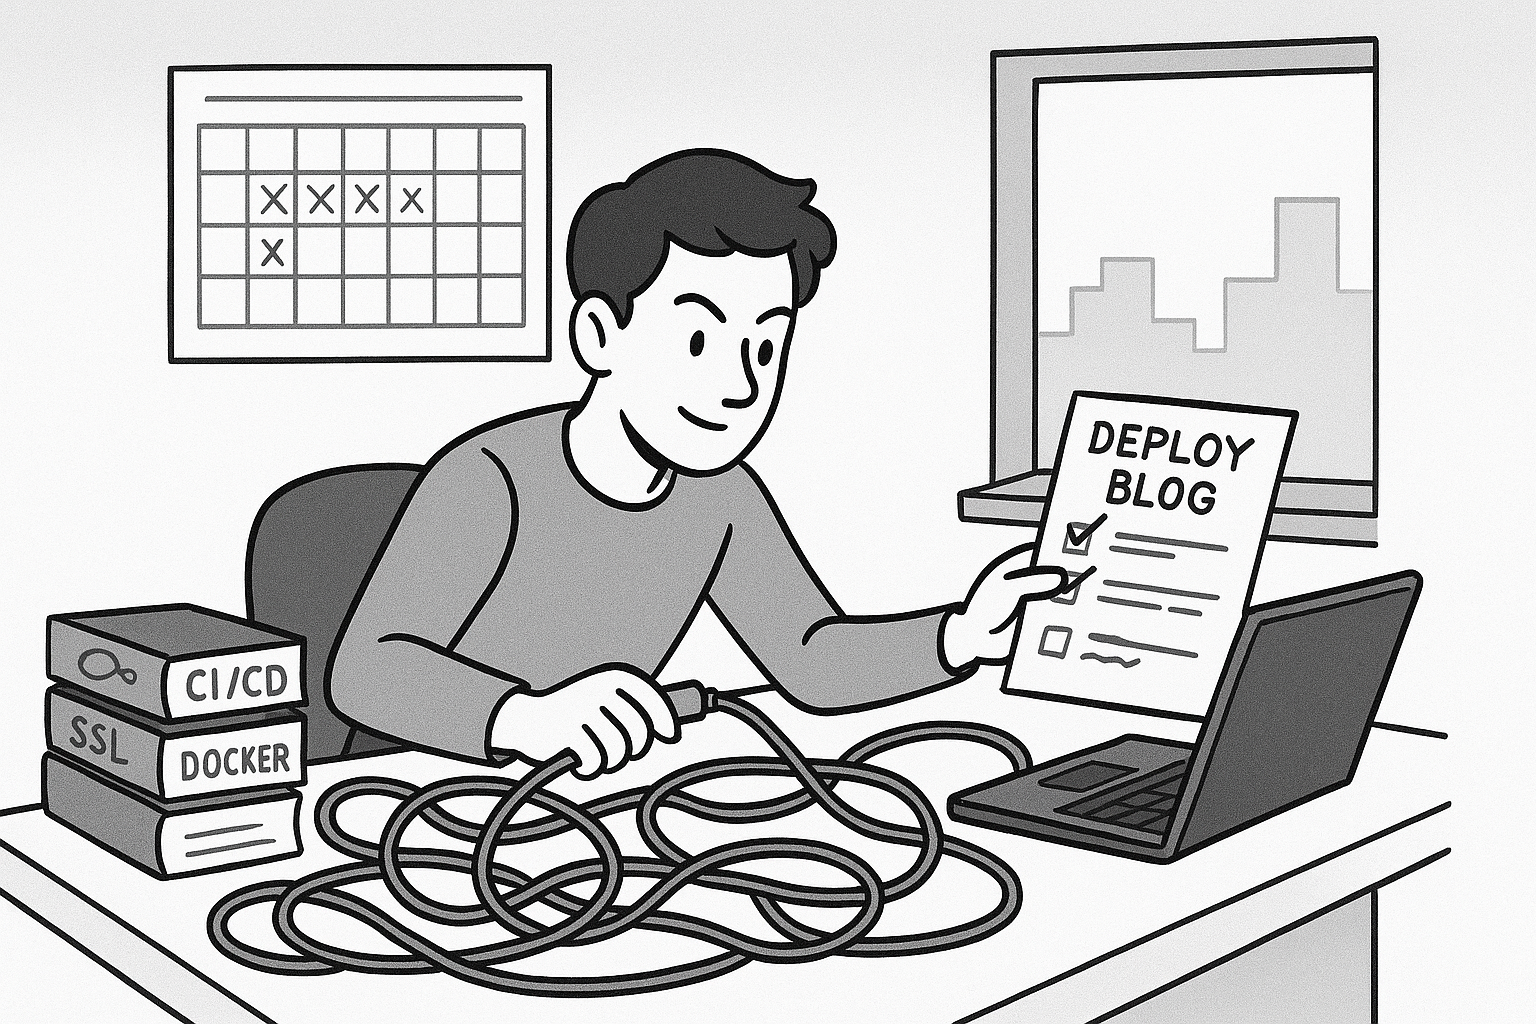
The plan was straightforward: build a static Hugo blog, containerize it with Docker, and deploy it to a Digital Ocean droplet. How hard could it be? (Famous last words, I know.)
I chose Hugo because it’s fast, generates static sites, and stays out of your way. Perfect for someone who just wants to write and ship. Docker felt like the obvious choice—portability, consistency across environments, and a chance to get more comfortable with containers.
As for hosting, I have the hardware for a home lab—it’s sitting right here. But here’s the thing: I wanted to ship quickly, not spend weeks setting up infrastructure. Getting a home lab production-ready means dealing with dynamic IPs, port forwarding, potential ISP restrictions, and a whole other layer of configuration that would delay actually launching. Digital Ocean gave me exactly what I needed: a droplet I could spin up in minutes, a static IP, and the freedom to focus on the deployment pipeline instead of wrestling with router configs and network setup.
It’s a deliberate trade-off. I’m building momentum, not perfection. The goal right now is to get something out there with as little tech debt as possible—a solid foundation I can iterate on. The home lab can wait. Maybe I’ll migrate to it later once things are stable, but right now, speed matters more than where the servers physically live.
There’s a deeper reason, too. I wanted to own my content, not have it scattered across LinkedIn, Medium, or whatever platform happens to be trendy this year. Those platforms are great for reach, but they don’t give you control. A self-hosted blog means the content is mine, the infrastructure is mine, and if I want to move it later—whether to that home lab or somewhere else—I can do it without asking anyone’s permission.
What I didn’t anticipate was how many moving parts there are when you’re the one responsible for everything. No platform abstracting away the details. No “deploy” button that magically handles DNS, SSL, and load balancing. Just me, a terminal, and a growing list of things I’d never configured before.
The First Real Challenge: Making Docker Work
Getting Hugo to build inside a Docker container was smooth enough. The Dockerfile was clean: install Hugo, copy the source files, run the build, serve the static files with nginx. Done. Except… the styles were broken when I tested locally.
Turns out, Hugo’s baseURL setting is more important than I realized. The static site was built with production URLs baked in, so when I tried to preview it locally, all the CSS and JavaScript references pointed to the wrong place. Lesson one: build-time configuration matters. I ended up using Docker Compose for local development with a different BASE_URL, and only the production build gets the real domain.
This seems obvious in hindsight, but when you’re used to tools that abstract these details away, you forget that every URL, every path, every environment variable can bite you if you’re not paying attention.
SSH Keys, Users, and the Principle of Least Privilege
Setting up the droplet was my first real encounter with proper user management on a production server. I could have just used the root user for everything—plenty of tutorials suggest it. But I wanted to do this right.
I created a dedicated hugo user with Docker access but no sudo privileges. Well, initially I gave it sudo access because I thought I’d need it for deployments. Then I realized: why? The user only needs to pull images and run containers. No sudo required. Adding the user to the docker group was enough.
For SSH authentication, I set up key-based access and disabled password login entirely. I also created a separate SSH key specifically for GitHub Actions to use during deployments. This way, if that key ever gets compromised (or if I need to rotate it), I’m not locking myself out of the server.
It’s that principle of least privilege in action—give every component only the permissions it absolutely needs. It’s a small thing, but it’s the kind of discipline that matters when you’re the one responsible for keeping things secure.
CI/CD: Simpler Than Expected, More Nuanced Than I Thought
I’d worked with CI/CD pipelines before, but always as a user. Building one from scratch was different—liberating, actually. GitHub Actions made it straightforward: lint the markdown, build the Docker image, push it to GitHub Container Registry, and deploy to the droplet via SSH.
The pipeline is clean: three jobs that run sequentially. Lint runs first and fails fast if there are issues. Then the build job creates the Docker image and pushes it to GHCR. Finally, the deploy job SSHs into the droplet, pulls the new image, stops the old container, and starts the new one.
What surprised me was how much decision-making goes into even a simple pipeline. Do I tag images with the commit SHA or just overwrite the main tag? (I went with the latter to avoid clutter.) Do I need separate staging and production environments? (Not yet, but I’ll probably add that later.) How do I handle secrets? (GitHub’s secrets management works well, though I had to be careful with the SSH key formatting.)
One thing I learned the hard way: markdown linting. I added markdownlint-cli to catch formatting issues before the build. It seemed unnecessary at first—who cares if there’s an extra blank line? But consistency matters, especially when you’re generating a static site. Small inconsistencies compound, and the linter catches them before they become problems.
But linting isn’t just about formatting. I’m planning to add Vale soon—a prose linter that checks readability, style, and tone. It’s one thing to have syntactically correct markdown; it’s another to have clear, readable writing. Vale can catch overly complex sentences, passive voice, jargon overload—all the things that make technical writing harder to follow than it needs to be. It feels like the next natural step: first make sure the code is correct, then make sure the content is good. After all, if I’m putting this much effort into the infrastructure, the words deserve the same attention.
As the pipeline finally came together, I felt a sense of accomplishment—and a bit of relief. But deploying is only half the story. The next set of challenges, from SSL to scheduled publishing, would test my assumptions about what ‘done’ really means in DevOps.
To be continued in Part 2.